Click here for photos of this build
I designed an Octave Mandolin a couple of winters ago. This is my first chance to build it. The back and sides are sycamore and the top Engelmann.
_________________________________________
Aug 28: This morning, I removed the twill tape and binding tape. Before installing binding and purfling on the back, I decided to level the binding and purfling around the top edge. For this, I used a scraper. I then repeated the process from yesterday to bind the back. I had one less purfling to manage, but the back is tricky as the purfling need to join perfectly at the top of the upper bout. On the top, I didn’t worry about the joint as I will eventually route a mortise through the top for the neck.
I left the glue several hours to cure. I again used the scraper to level the binding and purfling on the back side. I then gave the body a really good sanding. Given other priorities, this fun little project is now going to sit on the shelf for a while.
Aug 27: Glued in the purfling and binding bordering the top of the mandolin today. The koa binding, bloodwood side purfling, bloodwood top purfling, and rope purfling are all glued in at the same time. I prep by cutting all the joints and miters and dry fitting all the pieces. Once I had a good fit, I broke out the Titebond and glued everything in place. I started at the tail and worked my way around one side of the rim, gluing and taping as I went. After finishing one side, I repeated the process around the other side. To snug the binding and purfling tightly to the body, I tightly wrapped the entire body in twill tape.
Aug 26: Ryan has been in town to work on his build, so the little octo mando didn’t get much attention. But today, the little guy was back on the bench. Next up is binding, and first step was to route the channels for the binding and purfling. I have a fixture to hold my laminate trimmer while the body is moved around the cutter. I first routed the top then flipped over the body and routed the back. The spruce edges really fuzz up from the cutter. A sanding block and small file cleaned them up nicely.
Prior to installing binding, the tail graft needs to be inlaid. I laid out a wedge shape on the tail and used my laminate trimmer to cut a pocket for a koa inlay. The actual inlay will have to go in another day.
Aug 20: Glued on the top of the mandolin today. Once the glue had cured, I ran my laminate trimmer around the rims to trim the top and back material hanging over the rims. I need to level sand the rims good, then I get prep the body for binding.
Aug 19: Played in a golf tournament this morning, but I had time this evening after dinner to glue the back on the octave mandolin.
Aug 18: Had some time today to voice the soundboard. Every luthier has his or her own way of dialing in ‘their’ sound. But the common process involves removing wood from the braces and tapping the top and checking deflection. I have a set fine handmade Japanese chisels that I relish breaking out for this. I used the chisels to carve scallops into the X braces and tone bars and remove material from specific areas of the braces, checking the top as I progressed. Once the top was moving and ringing when tapped like I was looking for, I gave the bracing and top a good sanding and checked the fit on the rims.
The back doesn’t really get voiced. But I did lighten the braces a bit using my block and thumb planes. Once done, I sanded the inside of the back thoroughly and also checked the fit on the rims.
Aug 16: The top and back are ready for braces, and the goal today was to get them on. I precut the braces on the CNC. They are not cut to final shape but will be carved and shaped after being glued to the top and back. I marked the location of the top braces using a template. The main braces for the top form an X. I slotted and glued these braces together then glued them to the top along with a maple bridge backing plate. I then glued on the tone bars and finger braces. All braces are glued on with hot hide glue. I like hot hide glue for this as it dries crystalline hard, which better allows the top to transmit sound.
One of the trickier braces to glue down is the upper transverse brace. I designed this brace to butt up next to the fingerboard support on the neck block. I first fitted the brace to the rims, cutting in slight relief underneath each end at the rims, and ensuring the brace fit tightly to the fingerboard support block. Once I was happy with the fit, I set the top on the rims in its correct position and put a clamp through the sound hole over the upper transverse brace to hold it in position while I lifted off the top and marked its location. I then glued on the upper transverse brace, sound hole reinforcements, and upper bout finger braces.
To reinforce the glue joint up the center of the back, I glued on a cedar reinforcement strip. To get the back braces on, they first needed to be let through the cedar reinforcement strip. I used a small saw and chisel to remove small notches for the braces to pass through. I then glued down the braces.
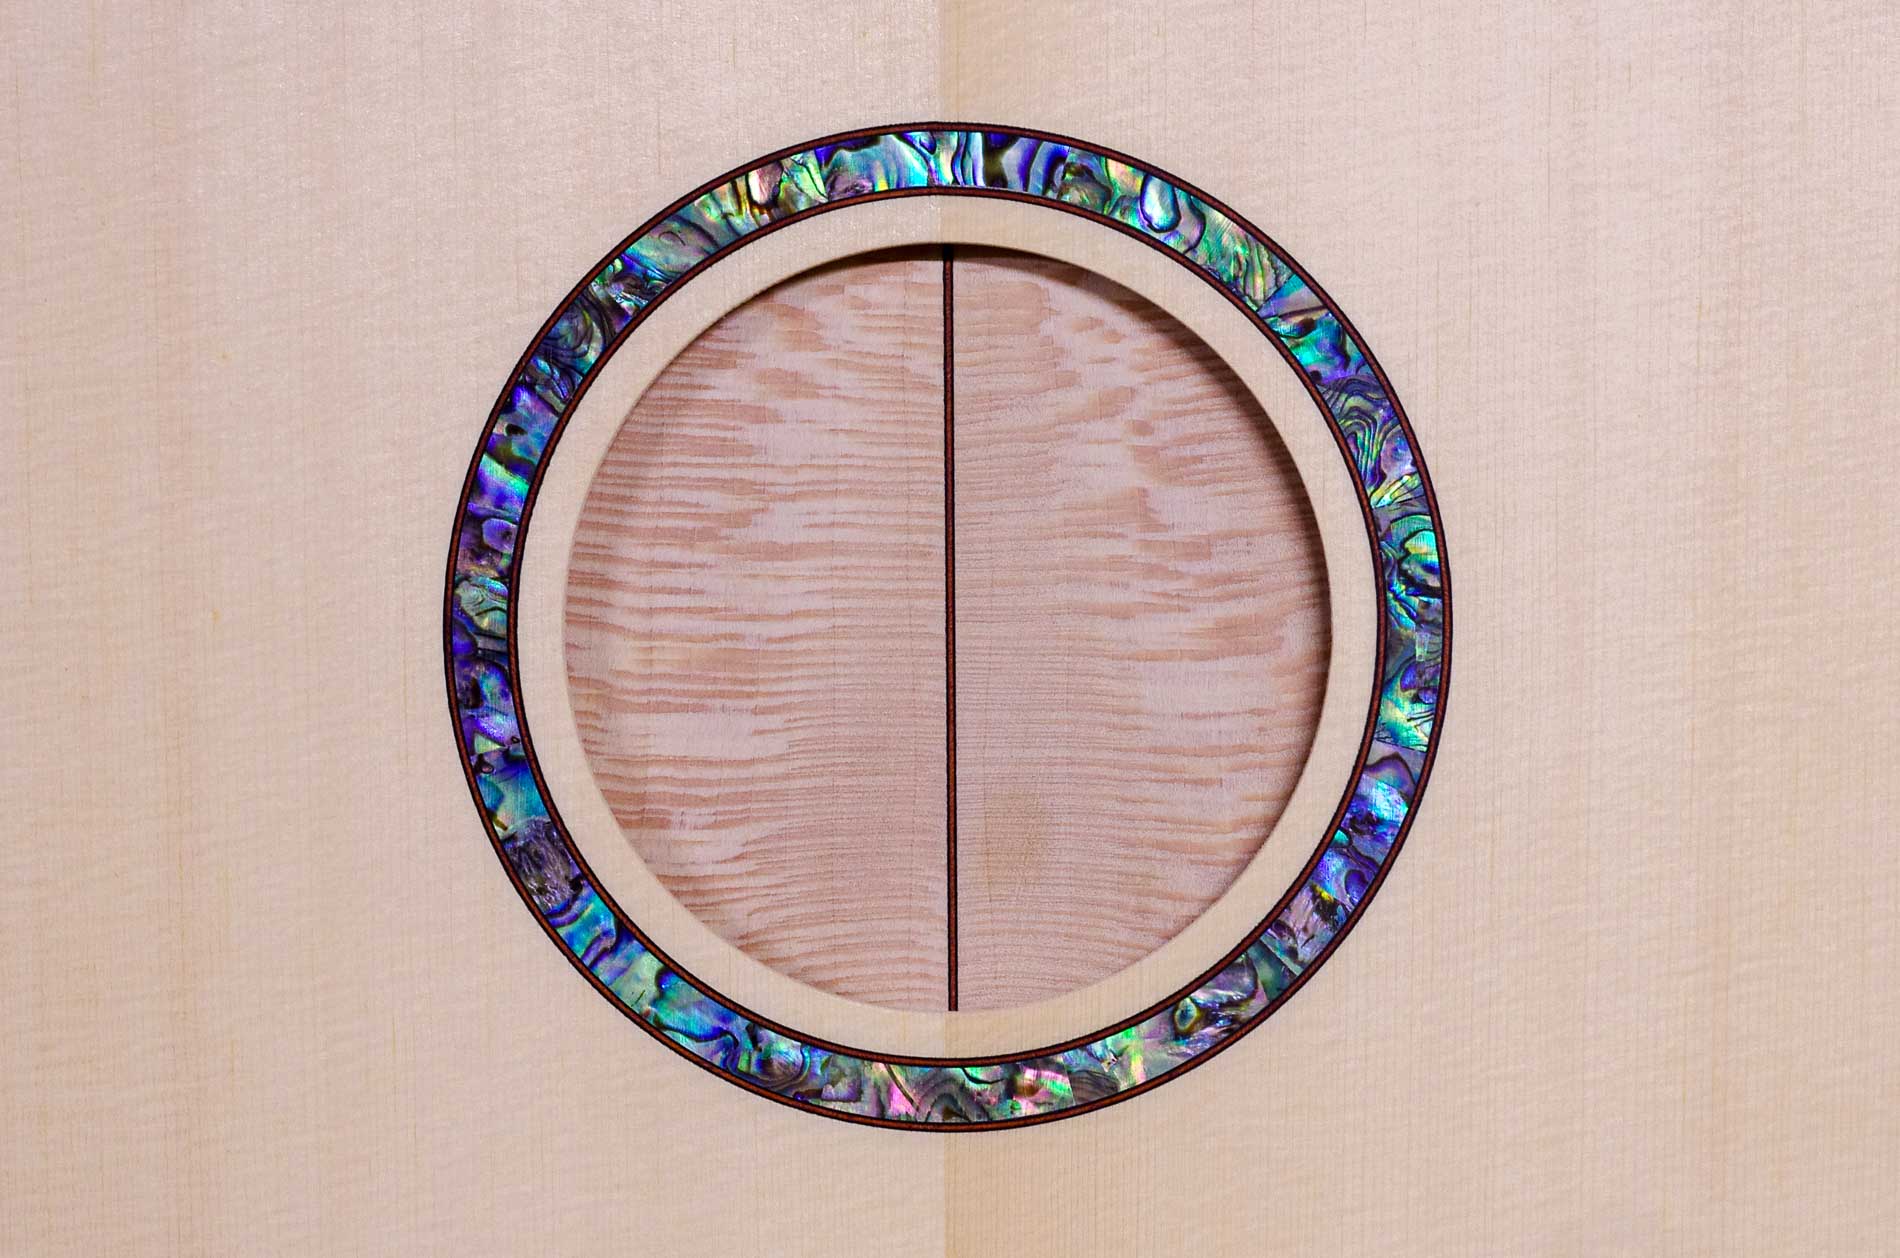
Aug 8: I inlaid a thin bloodwood purfling up the center of the back. A little more sanding and the back will be ready for bracing. Next up was the rosette. I want to hold the fingerboard short of the sound hole, so the full rosette will be visible. Given that, I had to get the rosette joints as perfect as possible. I first cut radiused pieces of shell on the CNC. I like to have these cut first so I can check the fit in the rosette pocket and enlarge the pocket if needed. I used the CNC to cut a pocket in the top for the shell, and sure enough, it was a touch too tight. I loosened it up a bit, and the shell dropped right in. Once dry, I used the CNC to cut the pockets for the bloodwood purfling and inlaid those. To hide the purfling joints I mitered each end so the purfling would overlap a bit at the seam. After the glue had cured in the rosette, I ran the top through the thickness sander to level the rosette and followed up with the palm sander and 220G paper. The top was still a bit on the thick side, so I flipped it over and ran it through the thickness sander until the top was flexing like I wanted. Then back to the CNC to cut the sound hole.
Aug 6: Cleaned up the joining edge of the bookmatched sycamore back plates using the jointed and long sanding bar. Once I was happy with the joint, I glued the two plates together and put the glued up panels in my clamping jig. While the glue was curing, I went through my Engelmann tops and found one for the octave mandolin. I cleaned up the joining edges, glued the plates, and put them in the clamping jig.
Aug 5: Glued in the linings, which provide a gluing surface to attach the top and back. Once dry, I used a 15′ radius sanding bar to level the linings for the back. To level the top, I used a flat sanding bar.
Aug 4: Made neck and tail blocks and got both glued in today.
Aug 2: Sanding and profiled the sycamore sides and dropped them in the bender. This is my first time bending sycamore. It behaves much like maple.
Jul 5: Converted my drawings to CNC code and milled the building mold, side bending form, and side and top templates on my CNC.


Joan
August 21, 2025 6:27 pmI am enjoying following this build!!!!
Kenneth Casper
August 25, 2025 8:13 pmThanks Joan! I am enjoying building it!